

Design a Rectangular Rubber Stamp
A step-by-step guide on how to design a rectangular stamp layout using the free online stamp maker.
Start a New Stamp
In the editor menu, click "New stamp." From the options, select the rectangular rubber stamp template. Specify the rectangle stamp dimensions by entering the width and height, then click "Create."
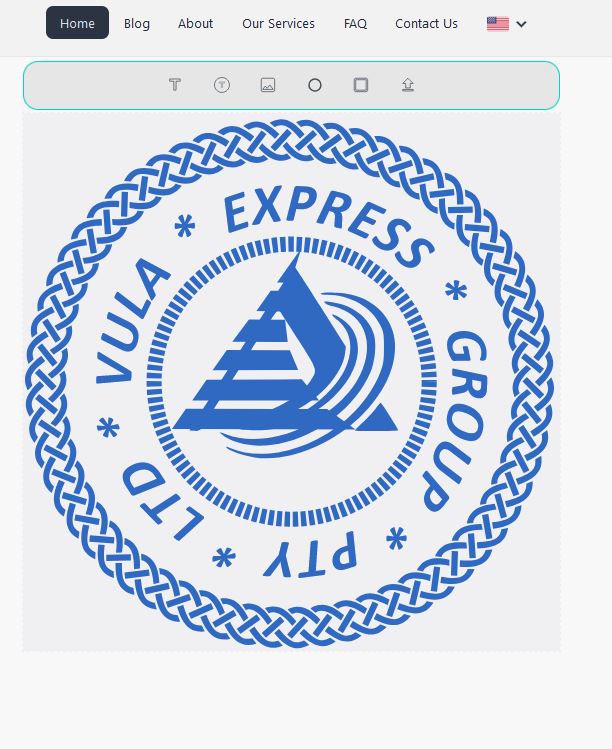
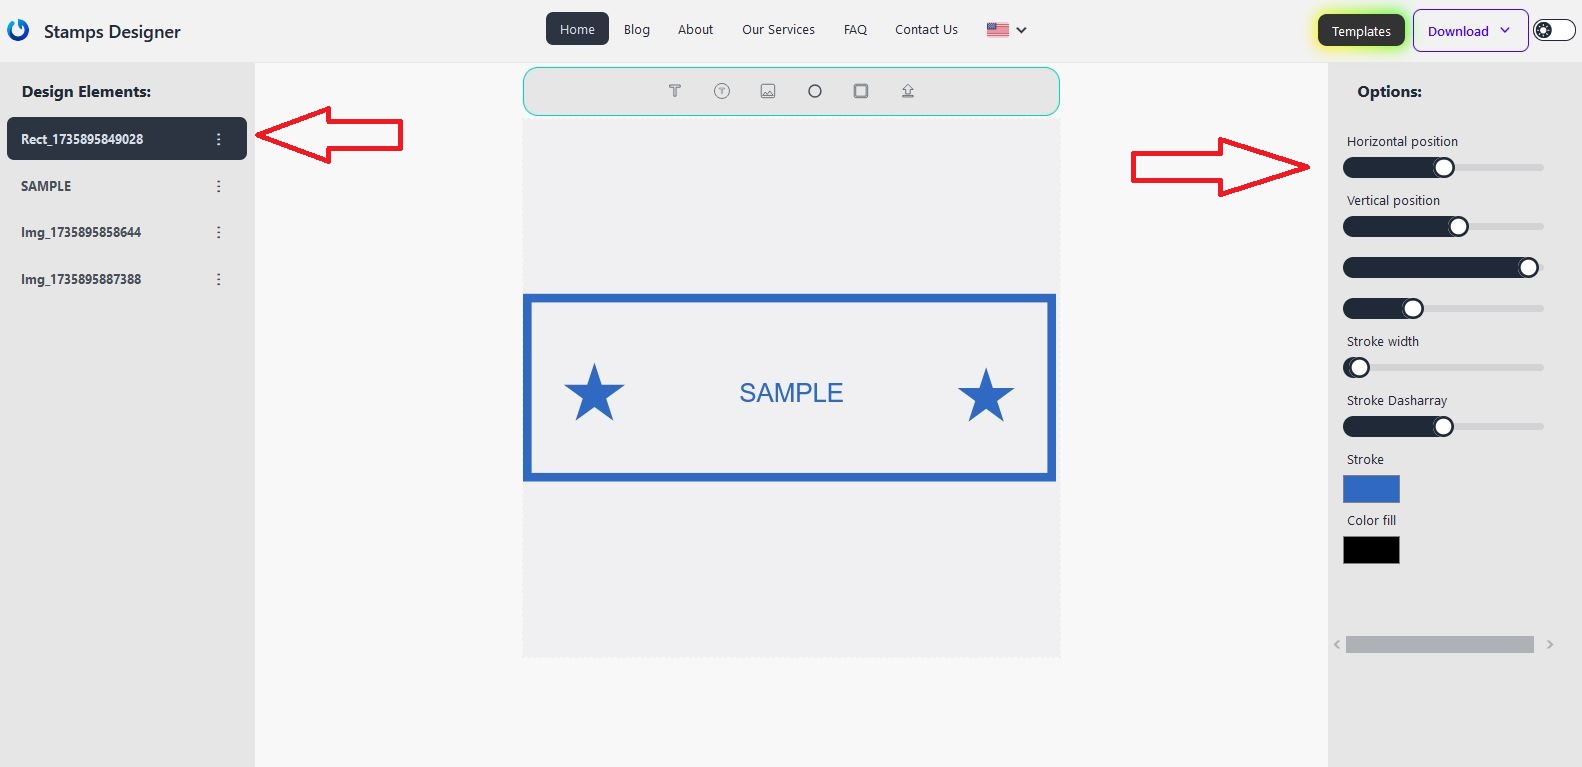
Insert a Rectangle Shape
Click the rectangle icon in the Toolbox. A rectangle will appear on the template, and the editing menu for the rectangle element will open on the right. Customize the rectangle by adjusting the corner radius or line thickness as needed.

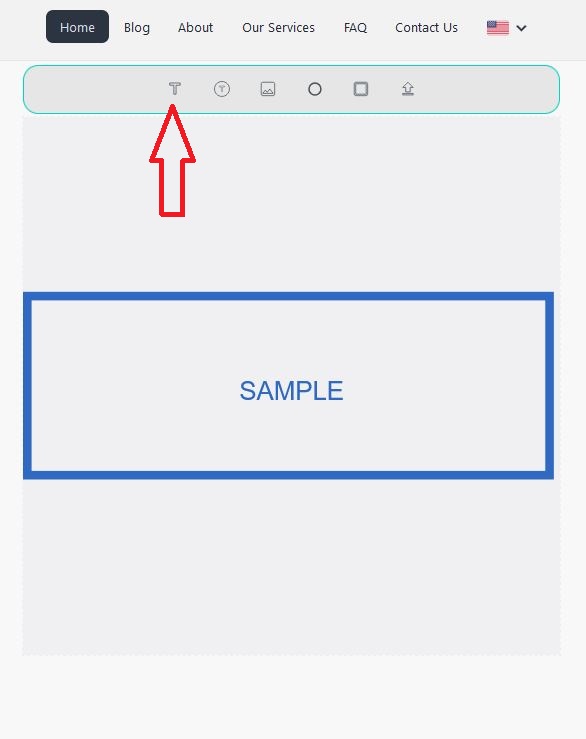
Add Text Along the Rectangle
Click the text icon in the Toolbox to add text along the sides of the rectangle. The text will appear on the stamp template, and the editing menu for the text element will open. Customize the text by changing the font, size, color, or alignment.
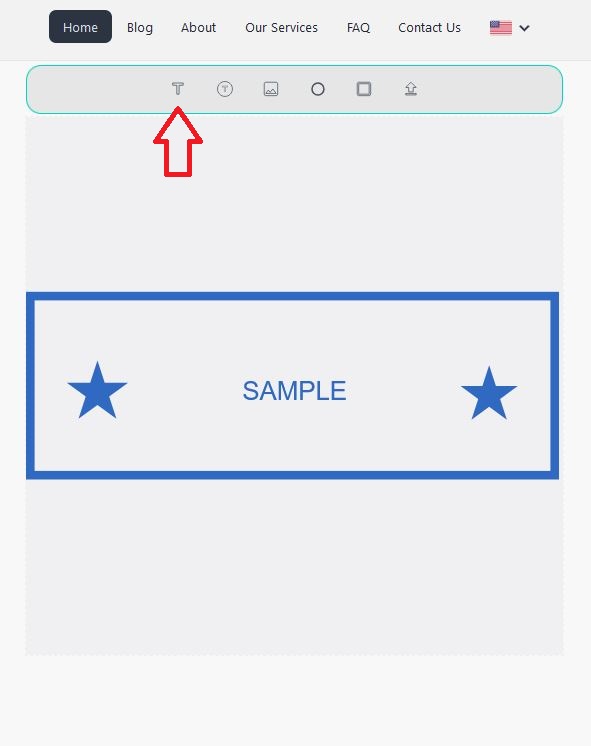
Insert a Text Element
Click the text icon in the Toolbox to add a text element. The text will appear on the template, and the editing menu will open. Adjust the text by modifying the font, size, color, or position on the X and Y axes.
Add an Image Element
Click the image icon in the Toolbox. A menu will appear on the right, allowing you to select an image from various categories. Use filters to find the desired image.

Once the image is selected, it will be added to the stamp design, and the editing menu will appear. Adjust the image size and position on the X and Y axes as needed.
Congratulations! You’ve successfully designed a rectangular stamp template. This can be used as a notary stamp or for other purposes. You can also use the SVG file to order a rubber stamp from a local manufacturer.
More intricate designs can be created by adding additional elements to the stamp.
You can now purchase stamps or download designs using our stamp generator.
You might also find these guides useful: How to create a round seal or How to create a triangular stamp.
For more tips and tutorials, visit our blog!
Published on 2024-08-03


