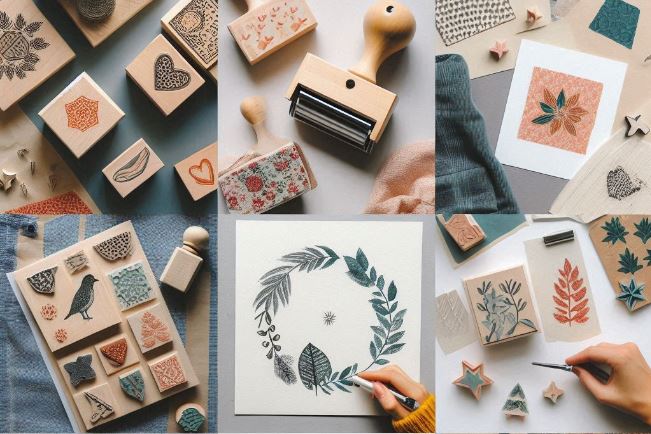
How to Create a Round Print Layout: A Step-by-Step Guide

Round print layouts are a classic and elegant choice for stamps, labels, and other design projects. Their symmetrical shape and versatility make them suitable for a wide range of applications, from business branding to personal crafts. This guide will walk you through the process of creating a round print layout, ensuring your design is both functional and visually appealing.
Whether you’re designing a stamp for official documents, a label for products, or a decorative element for creative projects, a round print layout offers a timeless and professional look. Let’s explore the steps to create your own round print design.
Why Choose a Round Print Layout?
- Timeless Design: The circular shape is universally appealing and never goes out of style.
- Versatility: Suitable for logos, text, or decorative elements.
- Balance and Symmetry: The round shape naturally creates a balanced and harmonious design.
- Professional Appearance: Adds a polished and sophisticated touch to your projects.
Steps to Create a Round Print Layout
1. Choose Your Design Tool
Select a design software or online platform that supports circular layouts. Popular options include Adobe Illustrator, Canva, or specialized stamp design tools.
2. Define the Purpose of Your Design
Determine the purpose of your round print layout. Will it be used for branding, labeling, or decorative purposes? This will guide your design choices.
3. Create a Circular Frame
Start by drawing a perfect circle as the base of your layout. Adjust the size based on your intended use, ensuring it fits the space where it will be applied.
4. Add Text or Logos
Incorporate text, logos, or other design elements within the circular frame. Consider the following tips:
- Use bold, legible fonts for text.
- Position logos or images centrally for balance.
- Experiment with curved text to follow the circular shape.
5. Customize Colors and Details
Choose colors that align with your brand or project theme. Add borders, patterns, or other decorative elements to enhance the design. Ensure the details are clear and not too cluttered.
6. Test Your Design
Before finalizing, test your design by printing a sample or viewing it digitally. Check for alignment, clarity, and overall visual appeal.
7. Save and Export Your Design
Once satisfied with your layout, save the design in a high-resolution format suitable for printing or digital use.
Tips for Designing a Round Print Layout
Keep It Simple
Avoid overcrowding the design. Focus on key elements that convey your message or brand.
Consider the Application
Choose a size and design that fits the intended use, whether for stamps, labels, or decorative prints.
Use High-Quality Images
If your design includes a logo or image, ensure it is high-resolution for a crisp and professional result.
Think About Color Contrast
Ensure there is sufficient contrast between the background and text or images for readability.
Conclusion
Creating a round print layout is a straightforward process that yields a timeless and professional design. By following these steps and tips, you can create a layout that is both functional and visually appealing. Whether for business branding, labeling, or creative projects, a round print layout adds a classic touch to your work. Start designing today and enjoy the process of bringing your ideas to life!
Published on 2024-06-02

