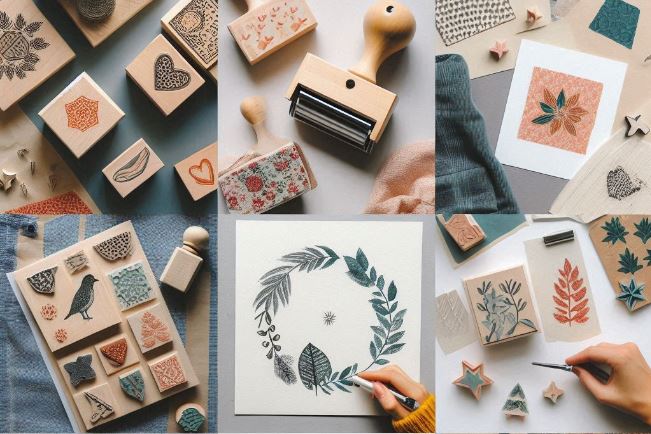
How to Make a Stamp Online: A Step-by-Step Guide
Creating a custom stamp has never been easier, thanks to online tools that allow you to design and order stamps from the comfort of your home or office. Whether you need a stamp for your business, a special event, or a creative project, making a stamp online is a quick, convenient, and cost-effective solution.

In this article, we’ll walk you through the process of making a stamp online, from design to production, and provide tips for creating a stamp that meets your specific needs. Let’s get started!
Step 1: Choose an Online Stamp Maker
The first step in making a stamp online is selecting a reliable platform. Look for an online stamp maker that offers a user-friendly interface, a wide range of customization options, and high-quality products. Platforms like Stamps Designer are excellent choices for creating custom stamps.
Step 2: Design Your Stamp
 Once you’ve chosen a platform, it’s time to design your stamp. Here’s how to do it:
- Select a Template: Most online stamp makers offer a variety of templates to get you started. Choose one that suits your needs or start from scratch.
- Add Text: Enter the text you want on your stamp, such as your company name, logo, or a special message. Choose from a range of fonts and sizes to customize the look.
- Incorporate Graphics: Add images, logos, or other design elements to make your stamp unique. Many platforms offer a library of graphics to choose from.
- Adjust Layout: Arrange the text and graphics to create a balanced and visually appealing design. Use alignment tools to ensure everything is properly positioned.
- Preview Your Design: Before finalizing, preview your stamp to ensure it looks exactly how you want it. Make any necessary adjustments.
Step 3: Choose Stamp Type and Specifications
After designing your stamp, you’ll need to select the type of stamp and its specifications. Here are some options to consider:
1. Stamp Type
Choose from different types of stamps, such as traditional rubber stamps, self-inking stamps, pre-inked stamps, or electronic stamps. Each type has its own advantages, so select one that best suits your needs.
2. Stamp Size
Select the size of your stamp based on where and how you’ll be using it. Larger stamps are more visible, while smaller stamps are ideal for detailed work.
3. Ink Color
Choose an ink color that complements your design and is appropriate for your intended use. Common colors include black, blue, and red.
Step 4: Design your Stamp
Step 5: Receive and Use Your Stamp
Once your stamp arrives, it’s ready to use! Here are some tips for getting the most out of your custom stamp:
- Test the Stamp: Make a few test impressions on scrap paper to ensure the stamp produces a clean and clear image.
- Maintain the Stamp: Keep your stamp clean and store it properly to ensure it lasts. For self-inking stamps, replace the ink pad when necessary.
- Use Consistently: Use your stamp consistently across documents, packaging, or other materials to maintain a professional and cohesive look.
Why Choose Stamps Designer?
At Stamps Designer, we make it easy to create custom stamps online. Our online platform offers a user-friendly design tool that allows you to create your own stamp with a variety of templates, fonts, and design elements.
Our online designer ensures that your stamps are both functional and visually appealing. Plus, our process is fast, affordable, and designed to deliver professional-quality results every time.
With Stamps Designer, you can create a stamp that’s as unique as you are. Whether you’re starting from scratch or using one of our templates, we’re here to help you every step of the way.
Explore More Articles:
What is the Designer of Seals and Stamps?
Stamp Pillow - The Office Hero of Our Time
Stamps for Mail Art
Published on 2024-08-22

