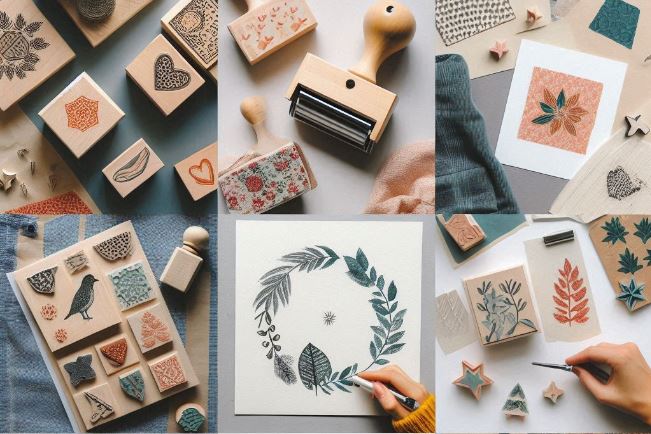
Step-by-Step Guide to Making Rubber Stamps
Creating custom rubber stamps is a fun and rewarding process that allows you to bring your designs to life. Whether you’re making stamps for business, crafting, or personal use, understanding the steps involved can help you achieve professional-quality results. In this article, we’ll walk you through the process of making rubber stamps, from design to production.

With the right tools and techniques, you can create rubber stamps that are both functional and visually appealing. Let’s dive into the step-by-step process of making your own rubber stamps.
Step 1: Design Your Stamp
The first step in making a rubber stamp is to create a design. This can be anything from a logo or signature to a decorative image or text. Keep in mind that your design will be reversed when stamped, so plan accordingly.
You can use graphic design software or online tools like Stamps Designer to create your design. Make sure your design is clear and simple, as intricate details may not transfer well to the rubber material.
Step 2: Transfer the Design
Once your design is ready, the next step is to transfer it onto the rubber material. There are several methods for doing this:
- Laser Printer Method: Print your design onto a piece of paper using a laser printer. Place the printed design face down onto the rubber material and use heat (such as an iron) to transfer the toner onto the rubber.
- Tracing Method: Place your design on top of the rubber material and trace it using a pencil or stylus. This method works best for simple designs.
- Direct Printing: Some rubber stamp kits come with special paper that allows you to print your design directly onto the rubber material.
Step 3: Carve the Rubber
 With your design transferred onto the rubber, it’s time to carve the stamp. Use a carving tool or linoleum cutter to carefully remove the rubber around your design. Start with the larger areas and work your way to the finer details.
Take your time and work slowly to avoid mistakes. Remember, the areas you carve away will not receive ink, so only the raised parts of your design will create the stamp impression.
Step 4: Test the Stamp
Once you’ve finished carving, it’s important to test your stamp to ensure it produces a clean and clear impression. Apply ink to the stamp and press it onto a piece of paper. Check for any areas that may need additional carving or adjustments.
If the impression is not as clear as you’d like, go back and refine the carving. Repeat this process until you’re satisfied with the results.
Step 5: Mount the Stamp
 After your stamp is carved and tested, the final step is to mount it onto a handle or block. This makes it easier to use and ensures a consistent impression. You can use pre-made stamp mounts or create your own using wood or acrylic blocks.
Apply adhesive to the back of the rubber stamp and press it firmly onto the mount. Allow the adhesive to dry completely before using your stamp.
Why Choose Stamps Designer?
At Stamps Designer, we make the process of creating custom rubber stamps easy and accessible. Our online platform allows you to design your own rubber stamp with a variety of templates, fonts, and design tools.
Whether you’re looking for a professional stamp for your business or a creative stamp for your projects, we’ve got you covered. Our online designer ensures that your stamp is both functional and visually appealing. Plus, our process is fast, affordable, and designed to deliver professional-quality results every time.
With Stamps Designer, you can create a rubber stamp that’s as unique as you are. Whether you’re starting from scratch or using one of our templates, we’re here to help you every step of the way.
Explore More Articles:
What is the Designer of Seals and Stamps?
Stamp Pillow - The Office Hero of Our Time
Stamps for Mail Art
Published on 2024-08-22

